Why is WordPress great tool for presenters?
For a presenter, PowerPoint or other presentation software is indeed the main tool for creating a presentation but there’s certainly much more of what you want to say to your audience. It won’t fit all into a few slides of your presentation. As a presenter, you’re passing on knowledge. No matter if it’s just a general overview of the topic or deep insights packed up with details.
One thing is sure: You want your presentation to be interesting & useful so the people from your audience will know more by the end of it. And more you know, more you realize how much you don’t know yet, therefore you’re curious for even more knowledge. Making an online presentation with WordPress will untie your wings as you will be able to:
- provide study materials to your audience easily,
- build up your knowledge base in a new, more organized & better accessible way.
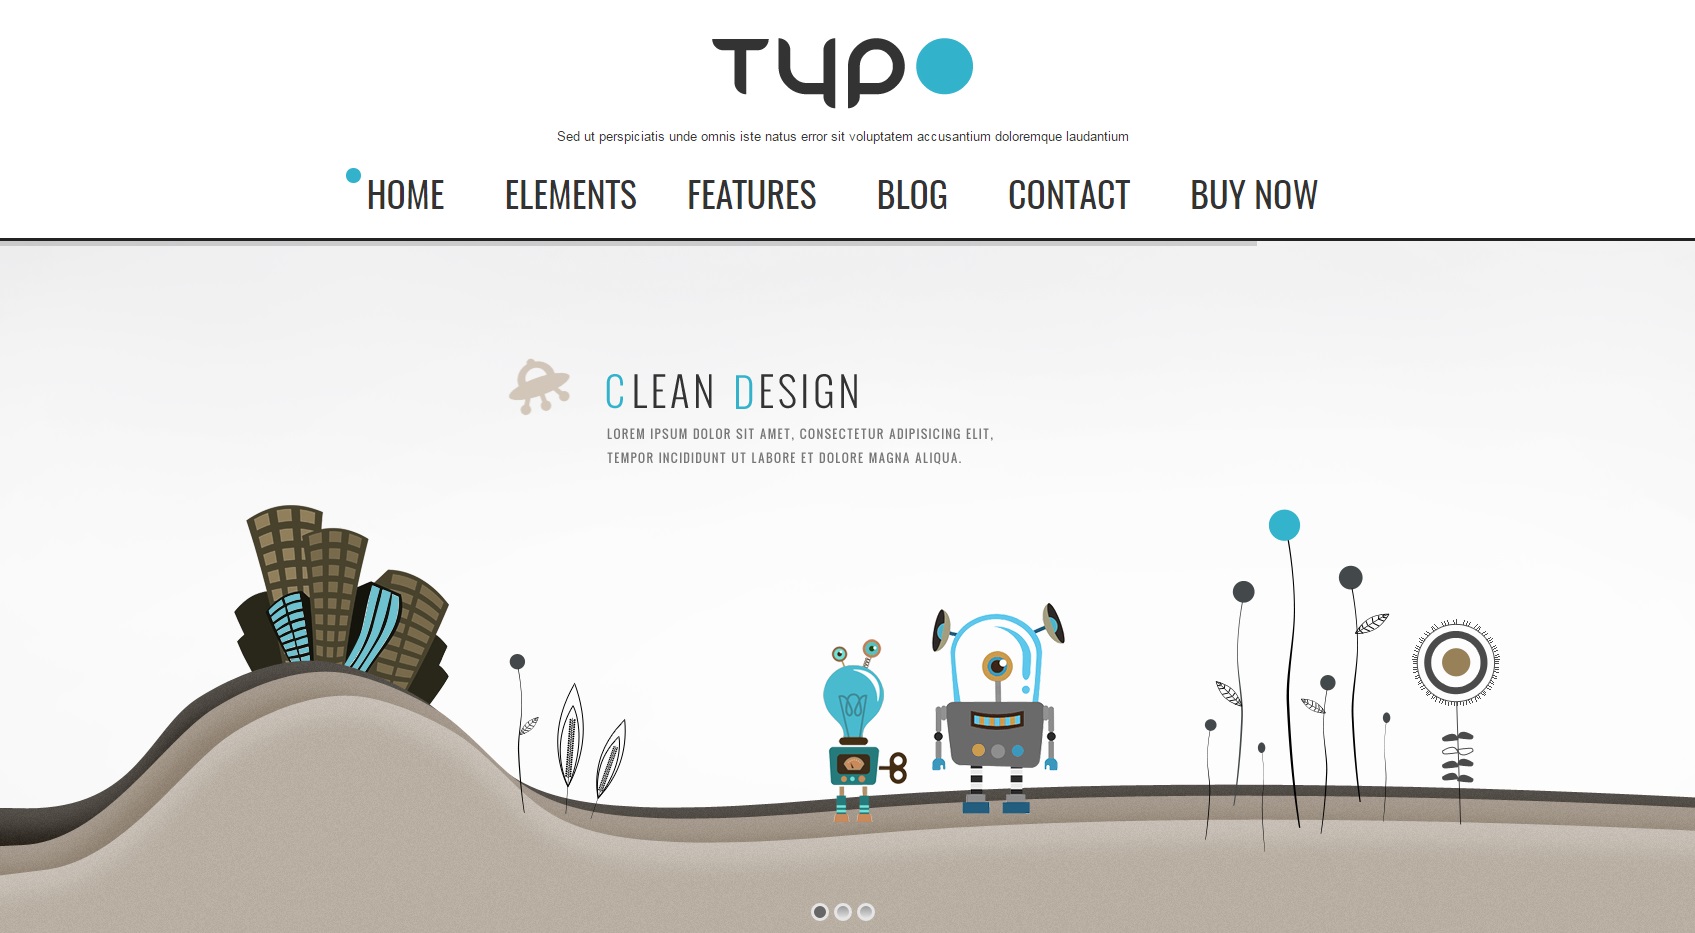
The example of the main website page
Your WordPress website = your new creative working space
Why every great presenter needs to have his own website? Because your own website is your very own working area where you can do whatever you need. It doesn’t matter if you set it all up by yourself or if someone builds the core for you at the beginning. Important is that it will be you who will be filling it up with useful, eye-catching content. WordPress is the ideal tool for it as it’s very user-friendly, low-cost and reusable. Your presentation and everything else your audience might need will be easy to access & share online.
Your website should have two separate areas:
- General public area – accessible to anyone, where you can introduce yourself as a presenter and provide a preview of what you offer to your audience
- Password protected area – where you provide your full PPTs, study materials or even answer a question. It could also be space for your company’s internal training, procedures and knowledge base. People will be able to access only pages they have a password to, nothing else.
How to make it work the easy way?
Keep it simple and eye-catching. From the technical point of view, you only need 3 things:
- Domain – choose a domain that will represent who you are.
- Hosting with sufficient parameters for WordPress – check the Hosting Requirements for more info.
- WordPress theme that looks professional and suits your needs.
Once you have your website up and running, you can start loading it with content. You can place pictures there, graphics, photos from your past presentations, list all the topics of presentations you can cover together with their overview.
How to add icons to your website
Adding your own icons to a website will make it look original, dynamic and eye-catching. As a presenter, you know how much of a difference will it make to create visual associations. Reduce the text & add more graphics.
For instance, if you want to show you help your audience to grow, you can use those symbols:
![]()
You can represent other webpage items in a similar way by adding a visual symbol.
For icon inspirations, see our blog series on visualizing business concepts such as Strategy, Services or Investments.
All icons or any other images and graphics that you want to use on your website need to be uploaded to the media library. Your icons should be in .jpg or .png format in order to be uploaded to the library. When your icons are successfully uploaded, you can associate them with elements on your website.
For example services. Go to Services element in the menu on your left-hand side. Once you’re there, create your service by clicking Add New or pick one of the existing services. Click on Select Image and it will bring you to the Media library to choose the icon you want.
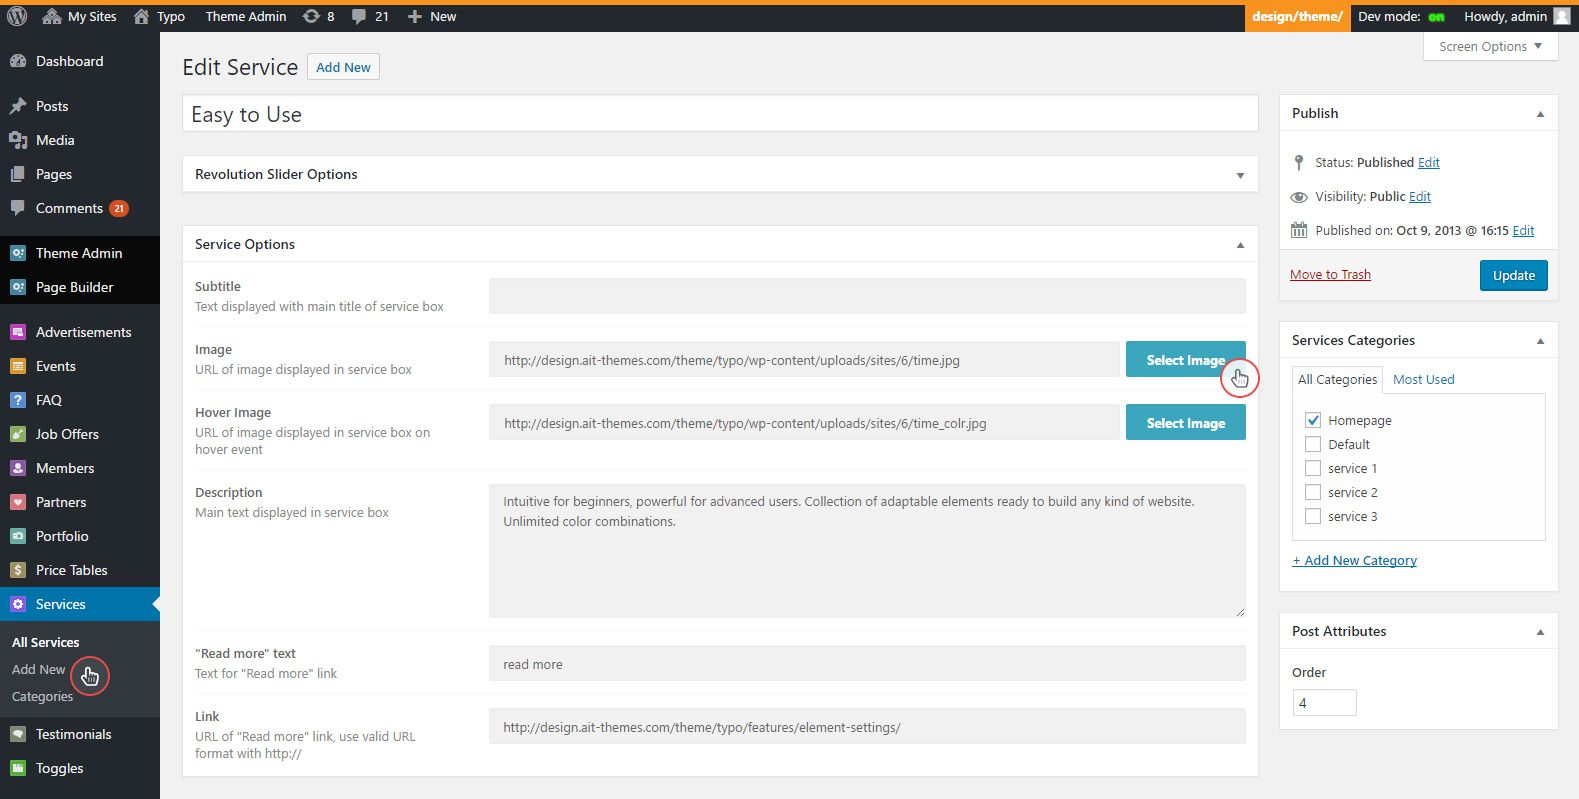
Services section inside the WordPress – how to add icons
Don’t forget to fill out the text fields and add Link to the service page.
How to create password protected pages
Every single page on your website is either public, password protected or private. Create a page for every presentation you make and upload all the study materials you want to share with your audience. While editing the page, go to publish box on the right side and change Visibility to Password Protected. Now all you have to do is share your password with the audience during your presentation.
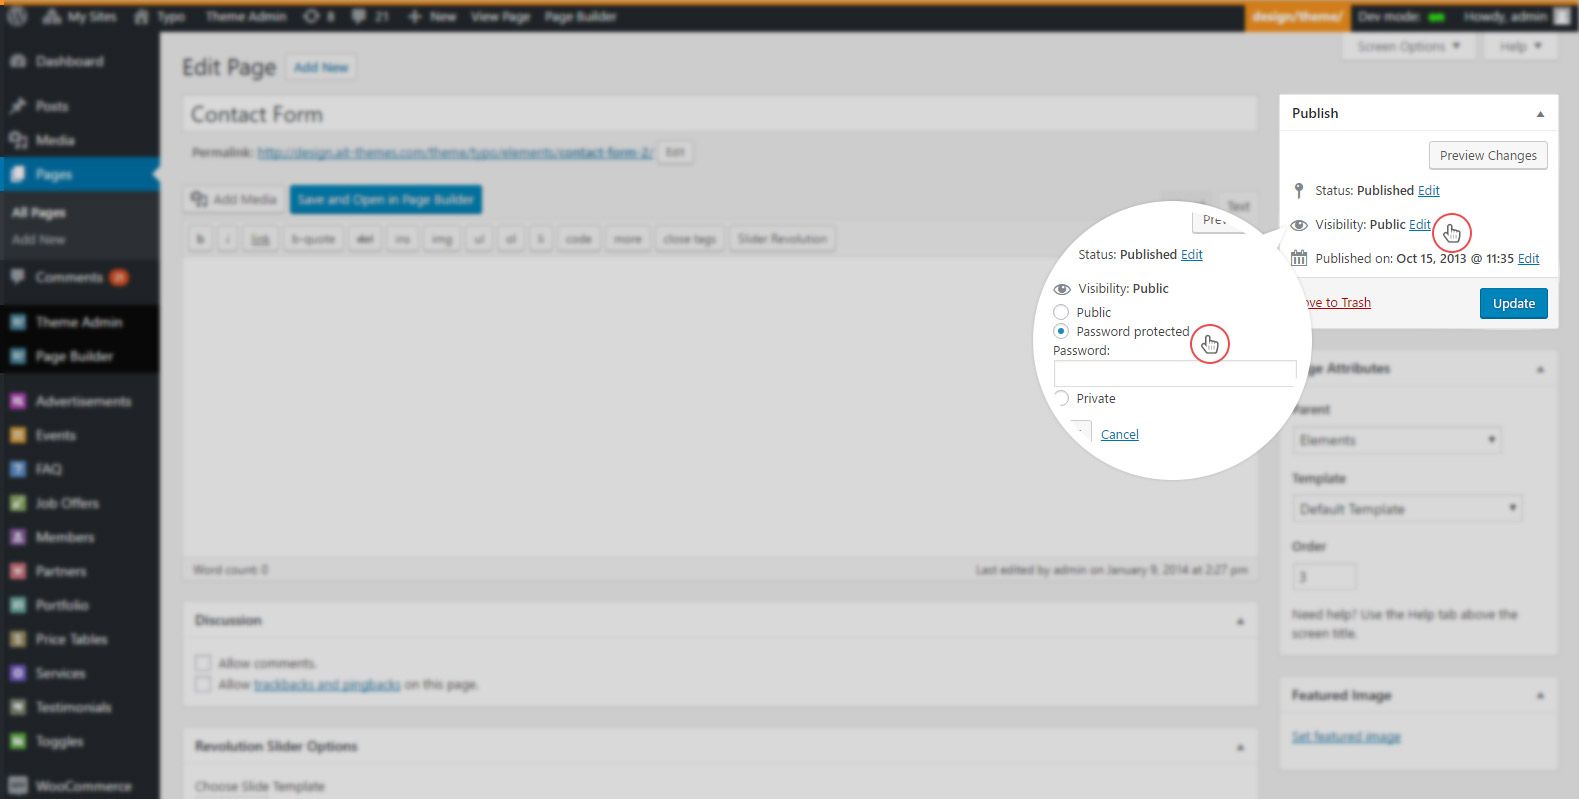
Screenshot showing how to create password protected pages in WordPress
You can change your password easily anytime you want and people will lose access to data if it’s no longer required. Alternatively, you can keep the page open to the training participants and collect their thoughts or questions via comments on the page.
Do you use WordPress for your website? Or you prefer other platforms? Share your WordPress challenges in comments 🙂
(This is a guest post by Jarinka – a member of AIT-Themes team, marketer and WordPress enthusiast.
Guys at AIT-Themes helped us to create also this infoDiagram blog.)