How to Design Unique Personalized Holiday Cards in PowerPoint
Did you know you can use PowerPoint as an Image Editor? That’s right! PowerPoint isn’t just for presentations. It’s a pretty good visual editor that you can use to create illustrations or materials for your blog, fan page, posters, infographics, or even seasonal holiday cards!
Since we are just a few weeks from Santa sliding down our chimneys, it’s time to start thinking about sending seasonal greetings to friends and family, and for us, that means preparing gifts and adding our own cards and e-cards! Even if you aren’t a graphic designer, you can make fantastic-looking holiday cards in PowerPoint.
Remark: You can get all the diagrams and icons from Creative Happy Holiday Cards.
We’ll show you how to make a greeting e-card in PowerPoint that you can quickly make and send to your clients, family, or friends.


Making Your Own Holiday E-Card in a Few Minutes Using Only PowerPoint
1. Choose a Nice Creative Background for Your Slide

You’ll want to use something simple so you can place text onto it easily. The background can be plain, or a solid color fills if you like. To make it unique, we’ve chosen to create our e-card with a watercolor stripe:
2. Add Your Message and Holiday Wishes Overtop:

To make the card prettier and more personal, apply some more original script font. For our e-card here I used Amatic font. (This font is free to get from the FontSquirrel website).
3. Additional Elements – Logo, Decorations
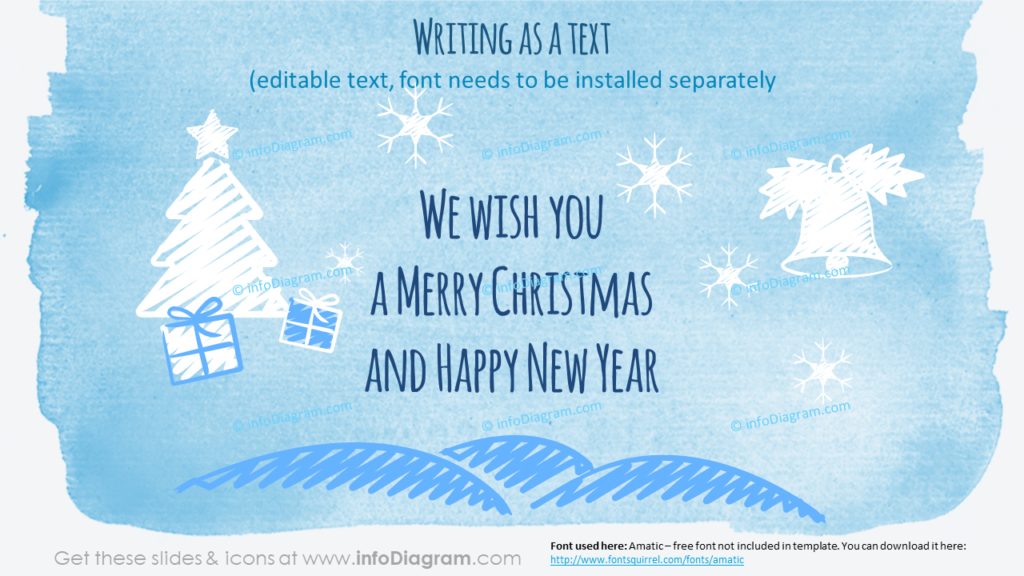
If you’re sending the e-card to clients or would like to plug your business then you can add your logo and some decorations. Christmas trees, snowflakes, and other seasonal items are popular, but try not to overdo it. Keep your card simple and clean so they maintain a crisp, modern feel. To achieve this, you can use platforms like Picsart to edit photos and add unique elements to your e-card design.
Here are a few examples of cards I did use for our creative handwritten icons and shapes.


4. Export the Card for Emailing or Sharing on Your Social Media
Once you have the card looking just the way you’d like, you’ll need to export the slide as a picture. All you have to do for that is use PowerPoint’s ‘Save As’ function (shortcut F12 on PCs). I recommend choosing JPG bitmap image format as the output type:
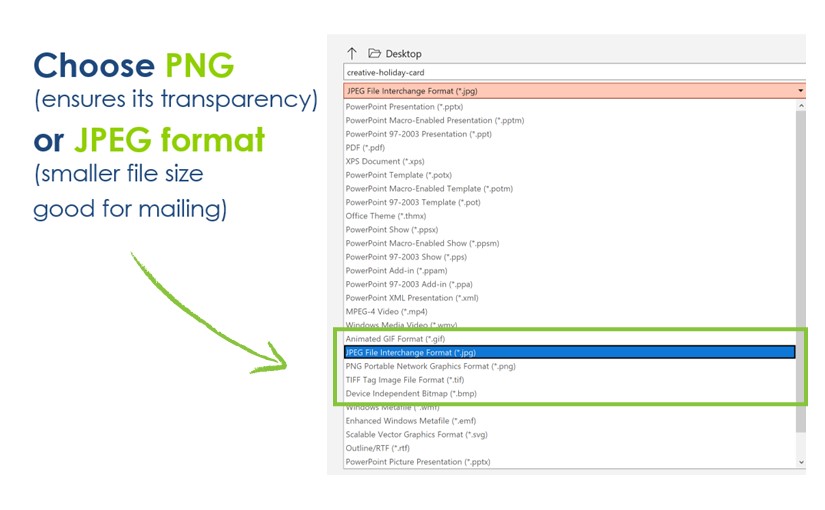
Then, you just use the exported picture. You can use the seasonal image as an email attachment, print it, or add it to your blog and Facebook, Twitter, Pinterest, Instagram – whatever social media channel you use.
See? It’s not that hard! It doesn’t matter if you’re sending cards to celebrate Christmas or another holiday during this busy time of year, the process won’t take long. Give it a try!
Getting Hand Drawn Holiday Cards Icons & Visuals
You can get all of the visuals used in this blog in our slides deck. See the full collection here:
Comment on this post (or contact us directly) to get a 100% discount voucher for this deck ☃️ Feel free to share this blog with your friends. Let’s share the joy of the holiday season.
Further Reading
Want more resources for designing creative, effective presentations? Check out these articles:
- How to copy and adapt diagrams to your content
- 4 recommended handwritten fonts for blackboard slide design
- Five creative ways to embed an icon in your design


